If you’ve ever tried fixing a garden trellis, you know it’s not easy. You may struggle with weak structures that can’t support your plants. Sometimes, the trellis might even disrupt your garden’s look.
A sturdy trellis is crucial for supporting climbing plants and enhancing garden beauty. This guide will give you the steps and knowledge you need to fix your garden trellis. You’ll learn how to ensure it’s both strong and attractive.
1. Choose The Right Trellis
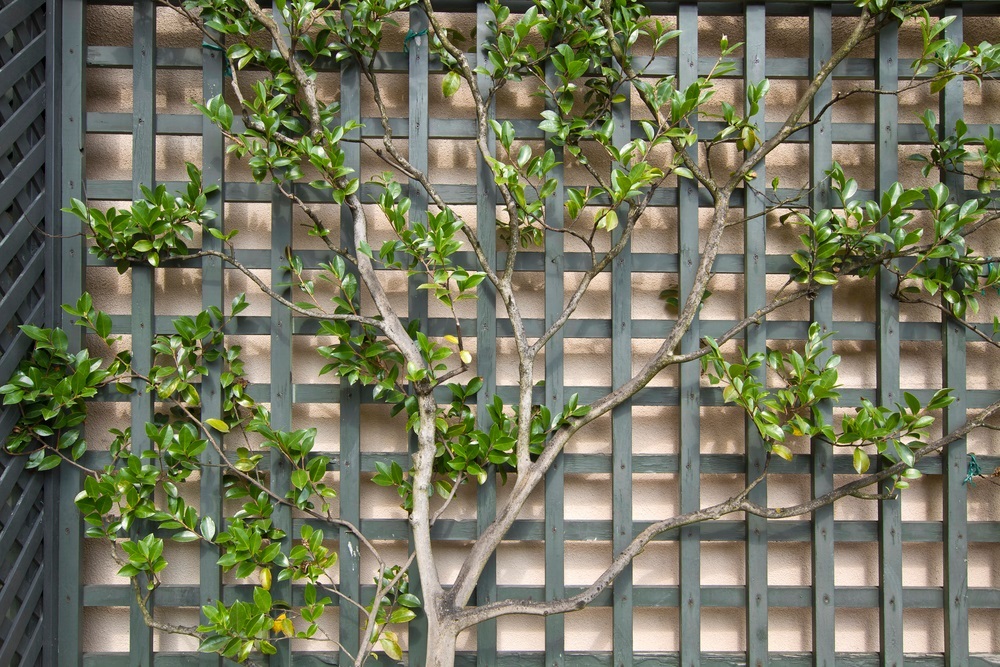
Choosing the right trellis is your first step. You have three main types: wood, metal, and plastic. Each has its benefits. Wood trellises blend well with natural settings but need more maintenance.
Metal trellises are strong and offer a sleek look, while plastic is affordable and resists rot. Consider your plants and garden style when picking a trellis. This choice will affect the overall health and appearance of your garden.
2. Gather Necessary Tools And Materials

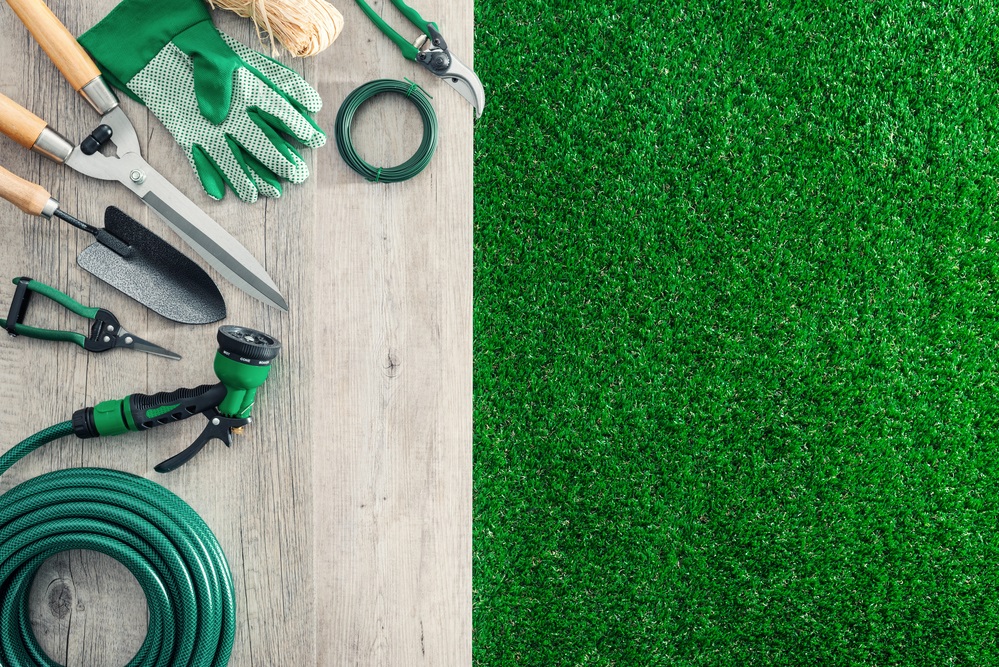
Before you start the repair, gather all necessary tools and materials. For safety purposes, have gloves and safety goggles for bodily protection. Regarding tools, you must have essentials like a hammer for nails, pliers for bending or cutting wire, and a screwdriver for tightening connections.
Maun recommends using fencing pliers to repair garden trellis, as they can bend and cut wire, which makes it easier not having to switch between tools.
Depending on the material of your trellis, gather appropriate fasteners such as screws for metal or nails for wood. Include garden ties or soft wire to secure your plants without damaging them. Having all these items ready will make the repair process efficient and safe.
3. Assess The Damage
Inspect your trellis for any damage. Look for broken or weak sections and areas of rot or rust that compromise the structure’s integrity. Press lightly on suspect areas to test their sturdiness.
Decide if you can repair these issues or if you need a total replacement. This ensures you don’t waste effort repairing a trellis that needs replacing.
4. Prepare The Work Area
Prepare your work area next. Clear all tools, debris, and garden equipment from around the trellis. This frees up space and prevents accidents.
Lay down a tarp to catch any small parts or debris. This setup not only ensures a safer work environment but also makes cleanup easier after the repair.
Preparing thoroughly lets you focus on fixing the trellis without other concerns.
5. Remove Damaged Parts

Carefully remove the damaged parts of the trellis. Use pliers or a saw, depending on the severity of the damage. Be gentle around plant life. Cut ties or wires that attach plants to damaged sections.
Support plants temporarily with stakes if necessary. This helps protect them from damage. It’s also a way to ensure you get rid of only the damaged parts. Thus, you’ll preserve much of the trellis and plant integrity.
6. Repair Or Replace Parts
Next, fix or replace the damaged trellis parts. If wood is splintered, use new pieces cut to size. Secure them with screws or nails. For metal trellises, you might need to weld or use brackets.
Always match the new parts to the existing material for a uniform look. This way, you make the structure strong, enabling it to adequately support climbing plants.
7. Secure The Trellis
Secure your trellis firmly to ensure it stands strong against wind and weight. If grounding in soil, use stakes or anchors deep enough for stability. For decks or walls, attach with brackets and screws.
Ensure all connections are tight and check for wobble. It helps your trellis hold up, providing reliable support for your plants.
8. Guide Plants
After securing the trellis, gently reattach and guide your plants. Use soft ties or plant tape to prevent damage. Attach vines at regular intervals, ensuring they distribute evenly for balanced growth.
Carefully weaving plants through the trellis minimizes stress and promotes healthy climbing. Being attentive to detail maximizes both the health of your plants and the aesthetic appeal of your garden.
9. Maintenance Tips

Keep your trellis in top condition with routine maintenance. Check yearly for loose screws, rot, or rust. Treat wood with a preservative to prevent decay and apply rust-proof paint to metal.
Regularly trim and tidy plants to avoid overburdening the structure. These simple steps extend the life of your trellis and keep your garden looking neat and vibrant.
Conclusion
Each highlighted step above is designed to ensure your trellis is both sturdy and aesthetically pleasing, making this knowledge invaluable for any gardener.
Take these lessons and apply them to transform your garden. A well-maintained trellis offers excellent support to your plants and also promotes beauty in your garden. Your efforts today will lead to a robust and charming garden feature.
As you grow more comfortable with these basics, explore more complex trellis designs and materials. Join gardening forums or local clubs to share experiences and gather new ideas. Regularly check and maintain your garden structures to prevent issues and ensure your garden remains a delightful sanctuary.

