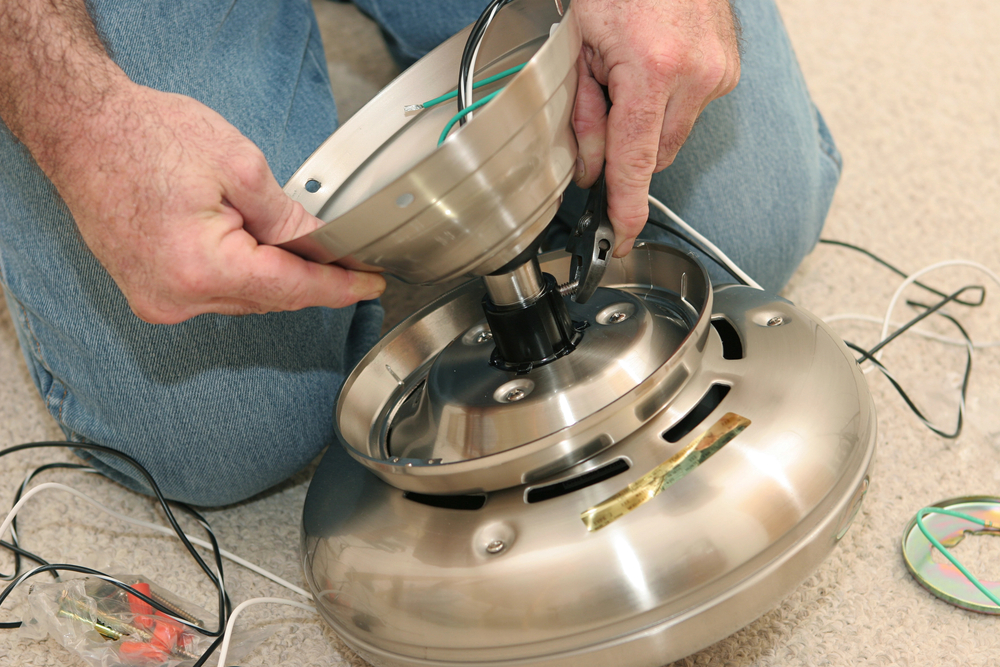
Installing a low-profile ceiling fan is a great way to enhance comfort and airflow in rooms with low ceilings or limited overhead space. Whether you’re replacing an existing fixture or adding a new fan to your home, proper installation is crucial for safety and optimal performance. In this comprehensive guide, we’ll walk you through the step-by-step process of installing a low-profile ceiling fan, ensuring a successful and hassle-free experience.
1. Choose the Right Location

Before you begin installation, carefully select the location for your low profile ceiling fan. Consider factors such as room size, ceiling height, and existing wiring. Choose a central location in the room to ensure optimal airflow and distribution of air. Make sure there is sufficient clearance around the fan blades to prevent obstruction and ensure safety.
2. Turn Off Power
Safety is paramount when installing electrical fixtures. Before starting any work, turn off power to the circuit at the breaker box to avoid the risk of electric shock. Use a voltage tester to verify that the power is off before proceeding with installation.
3. Gather Tools and Materials
Ensure you have all the necessary tools and materials on hand before beginning installation. Common tools needed include a screwdriver, wire strippers, wire nuts, pliers, and a ladder. Additionally, you’ll need the components included with your ceiling fan, such as the fan motor, mounting bracket, canopy, blades, and hardware.
4. Assemble the Fan

Before mounting the fan to the ceiling, assemble the various components according to the manufacturer’s instructions. This typically involves attaching the blades to the motor housing and securing any additional features such as light kits or remote control receivers.
5. Install the Mounting Bracket
Next, install the mounting bracket to the ceiling junction box using the provided screws. Ensure the bracket is securely anchored to the ceiling to support the weight of the fan. If necessary, use a support brace or ceiling fan-rated box for added stability.
6. Connect Wiring
Carefully follow the wiring instructions provided with your low profile ceiling fan. Connect the fan’s wires to the corresponding wires in the ceiling junction box, typically black to black (hot), white to white (neutral), and green or bare copper to the ground. Use wire nuts to secure the connections and ensure they are tightly twisted together.
7. Attach the Fan Motor
With the wiring complete, carefully lift the fan motor and align it with the mounting bracket. Secure the motor to the bracket using the provided screws, ensuring it is firmly in place.
8. Install the Canopy

Slide the canopy over the mounting bracket and motor assembly, covering the wiring and ensuring a clean, finished look. Secure the canopy in place using the provided screws, taking care not to pinch or damage the wires.
9. Attach the Blades
Once the fan motor and canopy are securely in place, attach the fan blades to the motor housing according to the manufacturer’s instructions. Use the provided screws to secure each blade, ensuring they are evenly spaced and balanced.
10. Test and Adjust

After installation is complete, turn the power back on at the breaker box and test the fan to ensure proper operation. Check for any unusual noises or wobbling and make any necessary adjustments to ensure smooth, quiet operation.
All being well, your new ceiling fan should now be fully functioning and ready to cool down your room as the temperature rises.

